The serve is the only skill in volleyball where you have complete control before the rally begins. No reaction required, no opponent to read — just you, the ball, and eight seconds from the referee’s whistle to execute. It is the one moment in every point where the game is entirely in your hands.
That makes serving one of the highest-leverage skills you can develop. A well-placed, difficult-to-read serve immediately puts the receiving team under pressure before they have touched the ball. A weak or predictable serve hands the opponent an easy first touch and lets them run their offense at full speed. Whether you are a beginner learning your first overhand serve or a competitive player working to add a jump float to your game, this guide covers every type of volleyball serve, the mechanics behind each one, and how to build them into a consistent weapon.
Understanding the Role of the Serve
Before breaking down individual techniques, it is worth understanding what a good serve is actually trying to accomplish. The primary goal of any serve is not simply to get the ball over the net — it is to disrupt the receiving team’s ability to run a clean offense. When a serve forces a poor pass, the receiving team’s setter is dealing with a ball out of system, and their attacking options become limited and predictable. That defensive advantage begins with the serve.
According to the FIVB Official Volleyball Rules 2025 – 2028, the server must contact the ball within 15 seconds of the referee’s whistle and must do so from behind the end line. The ball may touch the net provided it still crosses into the opponent’s court. A serve that fails to clear the net, lands out of bounds, or is contacted after the time limit is called a fault and awards a point directly to the receiving team.
Understanding these rules matters practically — not just technically. Training your pre-serve routine to fit comfortably within an eight-second window, rather than using the full fifteen, means you are building habits that hold up under pressure when time feels shorter than it actually is.
The Underhand Serve
The underhand serve is the natural starting point for beginners. It is the most mechanically straightforward serve in volleyball, requires minimal technical development to execute reliably, and allows new players to focus on getting the ball into play while building confidence in their court positioning and rotation awareness.
Mechanics of the Underhand Serve
Hold the ball in your non-dominant hand at about waist height in front of your body. Step forward with your opposite foot as you swing your dominant arm forward in a pendulum motion, making contact with your closed fist or the heel of your open hand beneath the center of the ball. The swing should be smooth and controlled — power comes from the arm swing and weight transfer, not from trying to hit the ball hard.
Keep your eye on the ball through contact, and follow through in the direction of your target. Common errors at the beginner level include tossing the ball upward before contact, which disrupts the swing timing, and contacting the ball too far to the side, which sends it off at an angle rather than straight toward the target.
When to Use the Underhand Serve
The underhand serve is appropriate for beginners still developing upper body strength and coordination, and in recreational or introductory competitive settings where consistency matters more than difficulty. As soon as a player can reliably land an overhand serve in the court, transitioning to the standing float serve is the right next step — the underhand serve offers limited tactical value at the competitive level because its predictable, slow trajectory is easy to pass.
The Standing Float Serve
The standing float serve is the most important serve for developing players to master and one of the most tactically effective serves at every competitive level below elite professional play. When executed correctly, the float serve produces a ball that moves unpredictably through the air — dipping, shifting laterally, or appearing to accelerate — making it genuinely difficult to pass consistently even for experienced receivers.
Why the Float Serve Works
The flight behavior of a float serve comes from the absence of spin. When a ball travels through the air with no rotation, small variations in air pressure act on the ball’s surface inconsistently, causing the flight path to shift in ways that neither the server nor the receiver can fully predict. This is the same aerodynamic principle that makes a knuckleball in baseball so difficult to catch — the lack of spin means the ball does not cut through the air in a straight, trackable line.
For the receiver, a well-executed float serve means tracking a ball that may suddenly drop, drift right or left, or appear to slow down right before it reaches them — all of which disrupts platform angle, footwork, and passing accuracy.
Mechanics of the Standing Float Serve
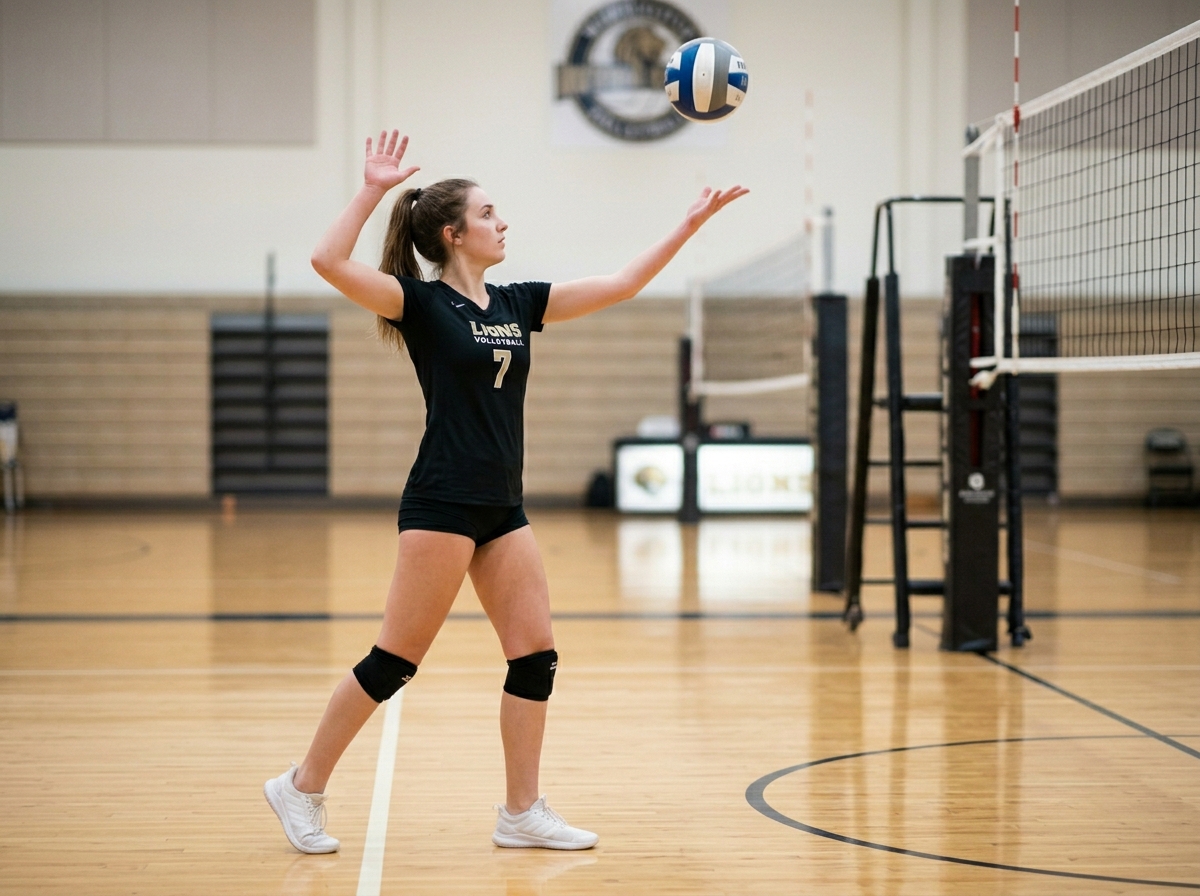
Stand behind the end line with your feet staggered — non-dominant foot slightly forward. Hold the ball in front of your serving shoulder with your non-dominant hand. Toss the ball upward in front of your hitting shoulder to a height just above the top of your reach — consistency in the toss is critical, as a poor toss forces adjustments that introduce unwanted spin.
Draw your hitting arm back with your elbow high and your hand open. As you swing forward, contact the ball at the center of its back face with a firm, flat, open hand — and freeze your wrist at contact. The freeze is what eliminates spin. Any follow-through of the wrist or fingers after contact imparts rotation that kills the floating effect. Think of it as a punch rather than a swing — sharp, direct contact that stops at the ball rather than continuing through it.
Practice your toss consistency before anything else. A toss that ends up too far forward, too far back, or at the wrong height forces you to adjust, and those adjustments almost always introduce spin. Once your toss is reliable, the contact mechanics become much easier to execute consistently.
The Jump Float Serve
The jump float serve takes everything that makes the standing float serve effective and amplifies it. By approaching and jumping before contact, the server generates a higher contact point and greater ball speed — meaning the float arrives at the receiver faster, with less time to react, while still carrying the unpredictable flight path of a spinless ball.
Mechanics of the Jump Float Serve
Take two to three approach steps toward the end line, tossing the ball forward and upward during your second step so that it hangs in the air at your peak jump height. Jump off both feet and contact the ball at the top of your reach using the same punch-and-freeze contact as the standing float — open hand, flat contact, wrist locked immediately after striking the ball.
The toss is even more critical here than in the standing version. If the toss is too far forward, you will contact the ball while still moving into the court, which disrupts both your timing and the quality of contact. Aim to have the ball at the peak of your jump in the space just in front of your hitting shoulder, allowing you to drive through it cleanly at full extension.
The jump float is generally regarded as the highest-value serve in competitive volleyball below the elite level — it is more difficult to pass than a standing float and more consistent than a jump topspin, making it the serve most coaches recommend developing after a reliable standing float is established.
The Jump Topspin Serve
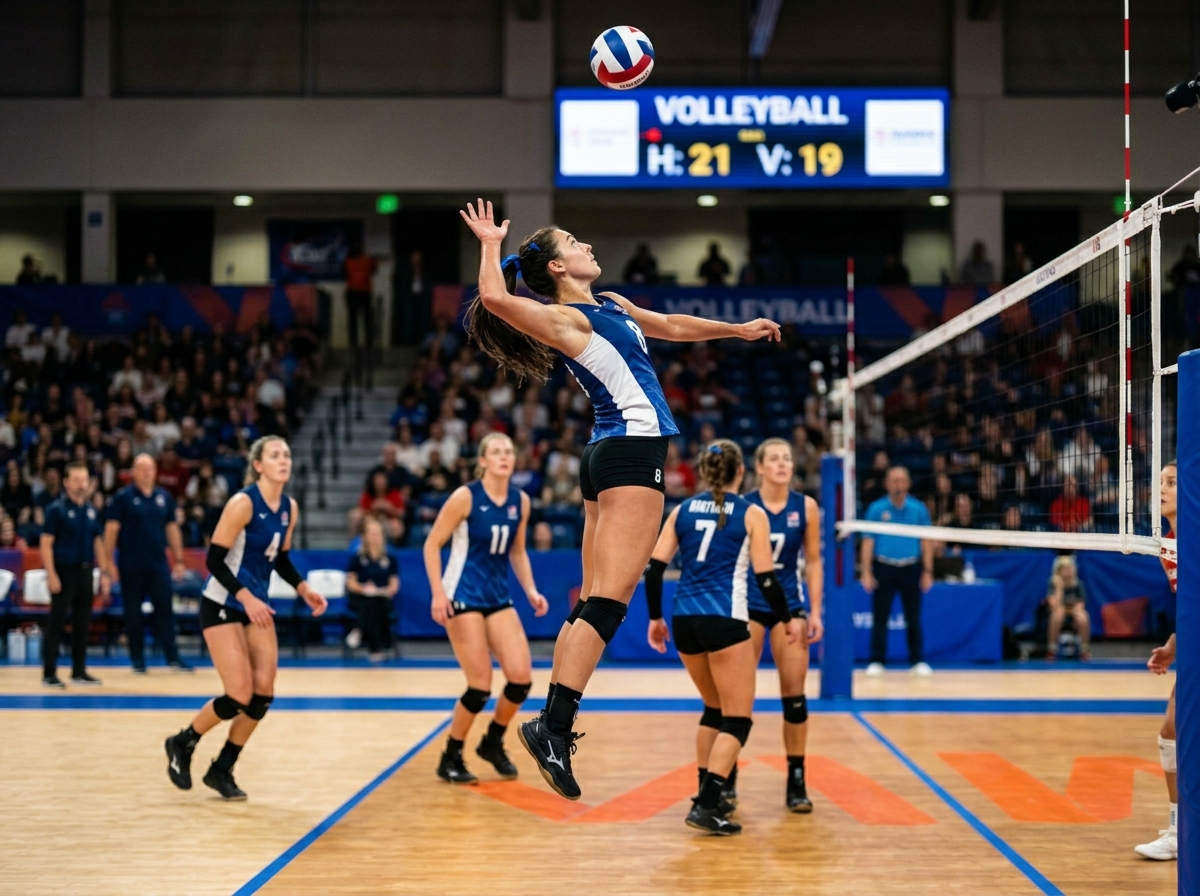
The jump topspin serve is the most powerful and aggressive serve in volleyball. According to Volleyball World, the jump serve raises the server above net level and delivers a flatter, faster ball that gives the receiver significantly less time to react and get into position. When executed well, it creates direct pressure on the passing line and can produce aces against even experienced receivers.
Mechanics of the Jump Topspin Serve
Begin four to five steps behind the end line. Toss the ball high — significantly higher than for a jump float — with your dominant hand, giving yourself time to complete a full four-step approach. Your approach follows the same pattern as an attacking approach: right, left, right, left for right-handed players, building momentum into the jump.
At the peak of your jump, contact the ball with a full arm swing and a deliberate snap of the wrist over the top of the ball. This wrist snap is what generates topspin — the hand rolls from behind the ball to over the top of it, imparting forward rotation that causes the ball to drop steeply after crossing the net. Unlike the float serve, the follow-through here is full and aggressive. The ball should clear the net by the minimum comfortable margin to keep the serve as flat and fast as possible.
When to Use the Jump Topspin Serve
The jump topspin serve rewards athletic players with strong arm swing mechanics and good approach timing. Its primary weakness is consistency — the combination of a full approach, a high toss, and an aggressive contact point creates more variables than any other serve, and errors are more costly because they hand points directly to the opponent.
At the competitive level, it is best deployed strategically — against weaker passers, in momentum-shifting situations, or when the receiving team has already shown difficulty handling power serves — rather than as a default first-serve option. The serve that your team benefits most from is the one you can execute consistently under pressure, not the most impressive one in your training repertoire.
Serve Placement and Tactical Strategy
Mastering the mechanics of each serve type is necessary, but placement is what separates effective servers from tactical weapons. A well-placed average serve will cause more damage than a powerful serve aimed directly at the opponent’s best passer.
Target Zones and Pressure Points
The most consistently effective serve targets in volleyball are the deep corners of the court — particularly the deep left back and deep right back zones — because they force passers to move laterally and backward simultaneously, which is the most difficult passing position. Short serves into the middle of the court, when the receiving team is expecting deep serves, create seam passes between two players who each expect the other to call it.
Identifying and targeting the weakest passer on the receiving team is the most direct tactical application of serve placement. Watch the first two or three rotations of a match to identify who struggles under pressure, who passes with an inconsistent platform angle, or who is slow to read serves to their weak side — and build your serving strategy around creating passing opportunities for that player.
Using Serve Variation Strategically
Even a technically excellent serve becomes easier to pass when it is predictable. Varying your serve location, speed, and type across a match keeps receivers uncertain and reactive rather than set and prepared. If you have established a deep float to the left back, a short serve to the center seam or a line drive to the right front becomes significantly more effective because the receiver’s feet and weight are already loaded for the deep serve.
This kind of tactical serving requires both the technical ability to place serves intentionally and the composure to execute under pressure. Developing your mental approach to competing on the court pairs directly with building your physical serve mechanics. Our guide on mental performance training for court sports athletes covers the composure and focus skills that make a difference at the serving line when the pressure is highest.
How to Build a Better Serve Through Practice
Serving is the one skill in volleyball that can be trained effectively in complete solitude. You do not need a team, a coach, or even a full court to develop your serve — a ball, an end line, and a net are sufficient for most of the repetitions that build consistency.
Solo Practice Methods
The most effective solo serving practice combines high repetition volume with intentional target focus. Place a cone or marker in a specific zone — deep left corner, short middle, right seam — and aim every serve at that target for a set of fifteen to twenty repetitions before changing the target. This trains both your mechanical consistency and your ability to adjust placement intentionally rather than just hitting the ball over the net and hoping for the best.
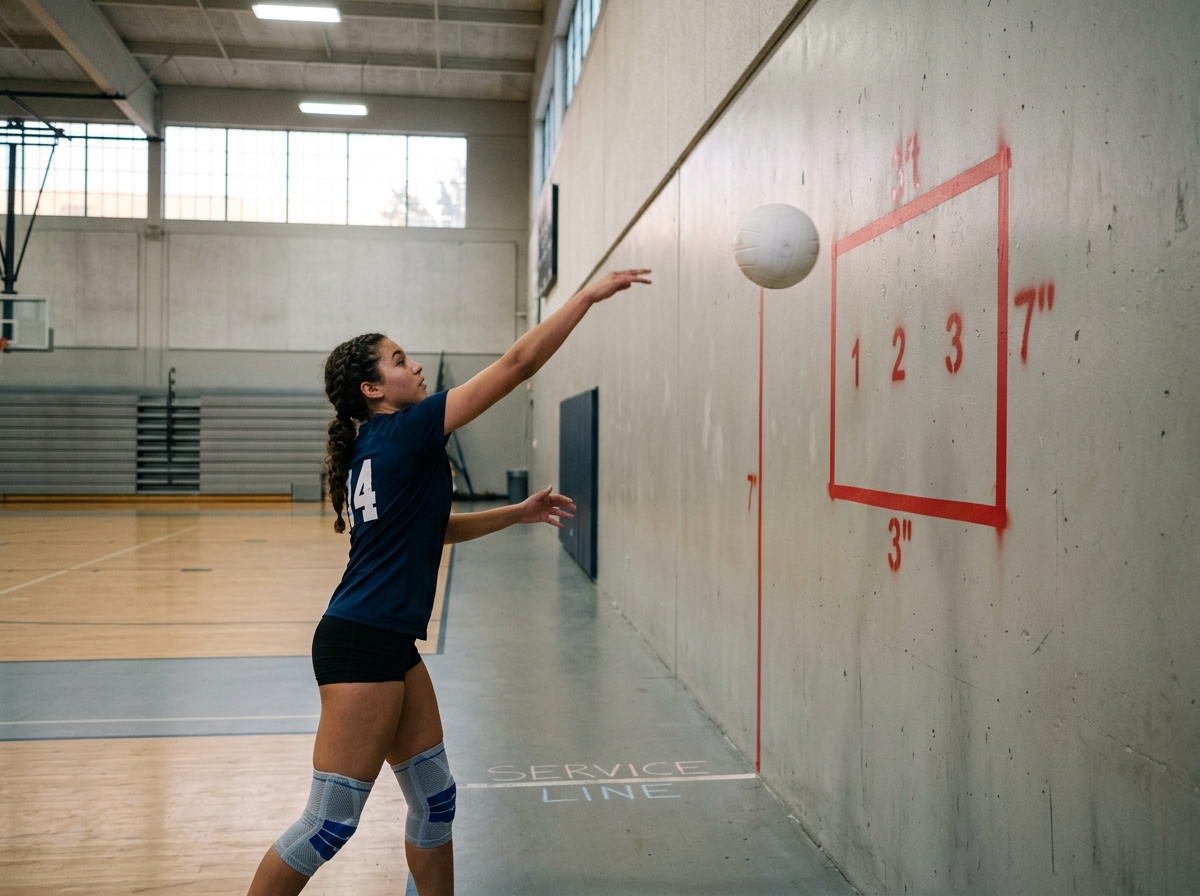
For float serve development specifically, you can practice toss consistency and contact mechanics against a wall. Mark a strip of tape at net height and serve into it, focusing on your toss repeatability and wrist freeze at contact. The wall removes the pressure of needing the ball to travel a full court distance, allowing you to isolate the contact mechanics that determine whether the ball floats or spins.
Building Consistency Under Pressure
Technical consistency in solo practice must eventually be tested in competitive conditions. During team practice, ask your coach to simulate pressure-serving scenarios — serving after a long rally, serving from a score deficit, or serving with a specific placement target against a live receiving platform. These simulations accelerate the transfer of training-room consistency into match-ready reliability.
The rule of thumb used by experienced coaches applies here: serve your most consistent serve in high-pressure situations, not your most impressive one. The serve that you can execute with confidence at 24 — 24 in the fifth set is worth far more than the serve you can hit for an ace in warm-up but fault twice in a row when the match is on the line.
For a broader look at how the rules governing volleyball serving and competition have evolved, including the 15-second serve clock and 2026 FIVB rule updates, our article on volleyball’s 2026 FIVB rule changes covers every update every competitive player needs to know. And if you want to complement your physical development with the technology tools that top players use to track training progress, our guide on wearable tech and smart gear for court sports athletes is worth exploring as your game continues to develop.